
Tools you will need:
1. Water (room temp)
2. Tooth Pick or Cuticle Pusher
3. Nail Polish (I have found that glitter polishes do not work)
4. Scotch Tape
5. QTip
6. Nail Polish Remover
Step 1:
You need to put your room temp water in a container where you can have multiple fingers fit in. You definitely want to have plenty of room, but not too much. I used a sour cream container that was empty and clean... [obviously] lol.
Step 2:
Tape your fingers. I put one piece on each side of my nail, one below my nail, and one at the tip of my nail

Step 3:
Take the polishes that you have chosen and start to drop them into the water. You do one drip at a time, and you can do whatever pattern you like as far as what colors go. This is where your creativity kicks in!


Step 4:
Once you have put your drops in the water (at this point you have to move rather quickly, or else your nail polish will dry on top of the water) you will then take your tooth pick or cuticle pusher and swirl around the colors to form a design.

Step 5:
Now you will put whatever finger(s) you want in this design. Now, as you will notice every single finger is going to be different because the pattern is not the same in any spot. The most I've done is 3 fingers at a time.

Step 6:
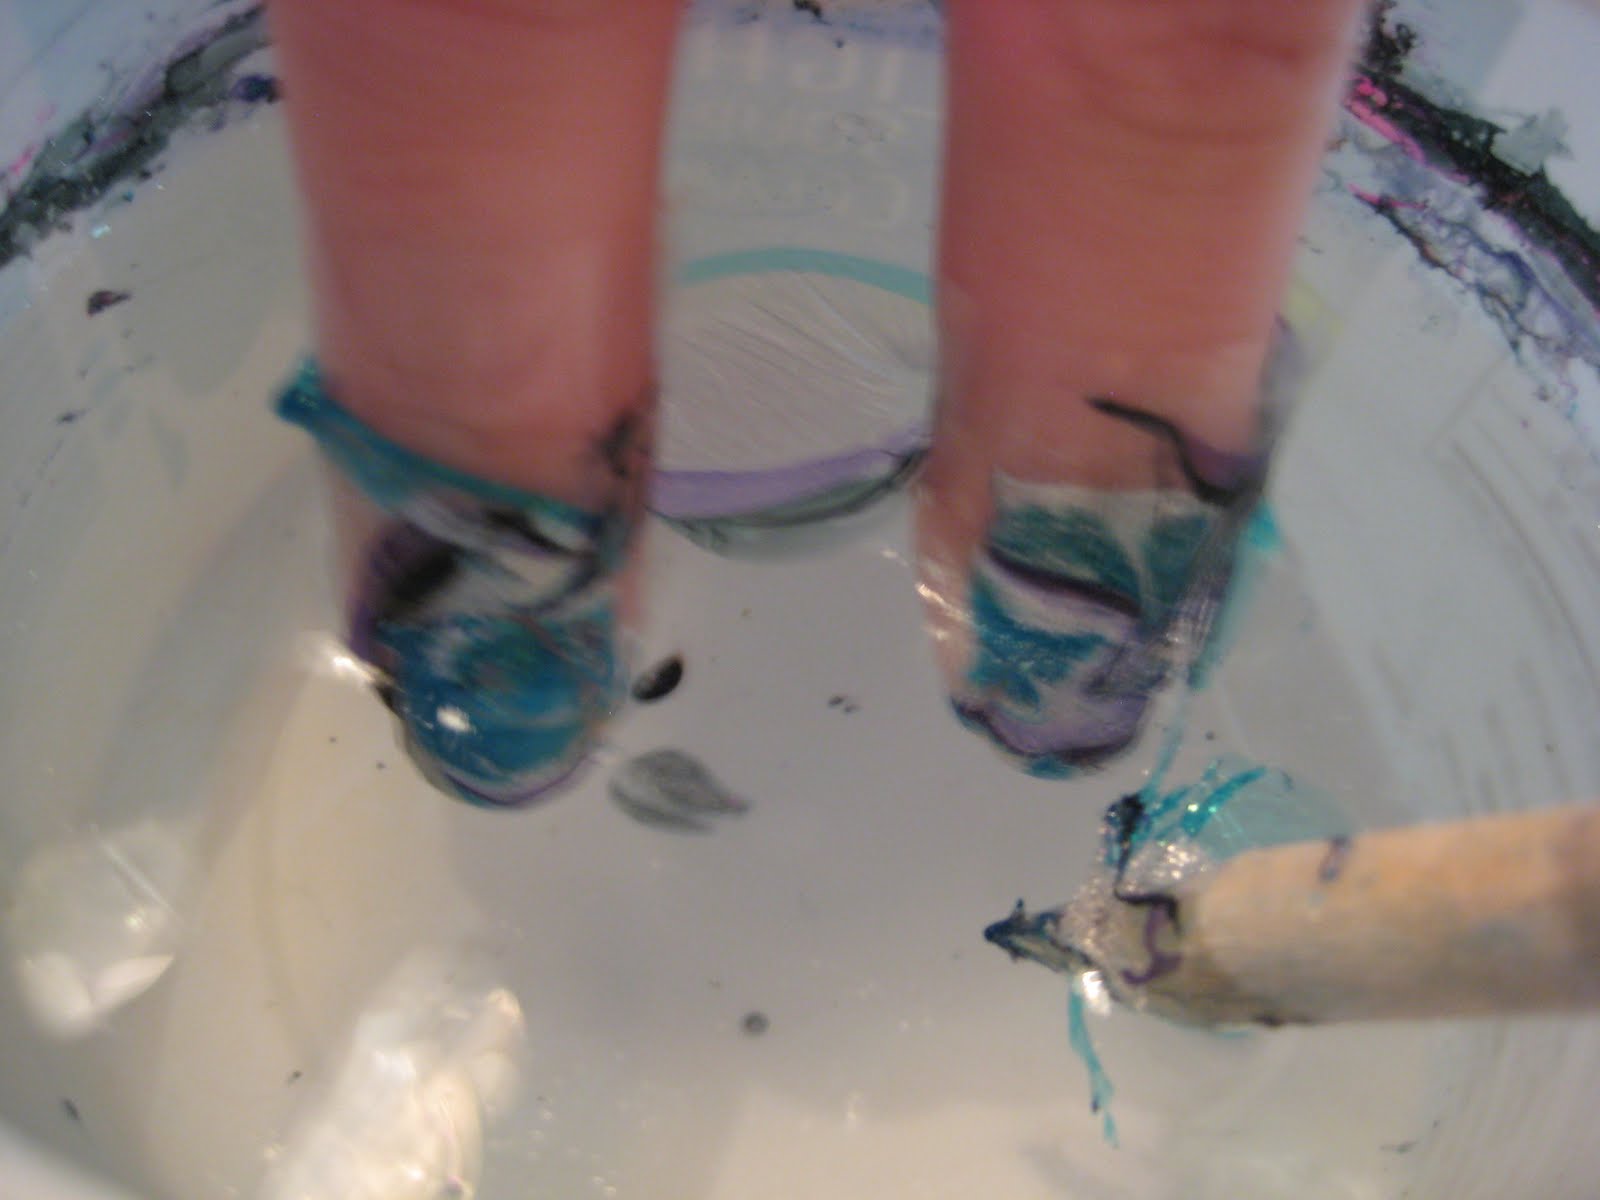
Once you have placed your fingers in the water (i go down to the first knuckle so that I can ensure the entire nail is covered completely) you will then take your toothpick or cuticle pusher and swirl it around in the remaining polish that is not on your nails. Once you do this the excess polish will easily stick to your stick.
Step 7:
When you pull your fingers out of the water, it will look very messy. It will look better once you pull the tape off, but don't pull the tape off for at least 3 or 4 minutes so that you can make sure it's dry to your nails.

Peel off the tape carefully from around your nail (should come off easily since it was put in water). You will have to clean up around the nail a bit because some of the polish will seep through the tape.


Step 9:
I take Q tips and some polish remover and clean up around the edges. Once I am done doing that, I then put a top coat on, and VOILA! You have a gorgeous manicure!


I really really love this manicure. When you put the polish in the water it changes up for the forumla a bit and it seems to last longer on my nails without any chipping. I've also heard of people putting on a base color before they dip their fingers in the water, but I've never done that. I have also done an accent nail of just the marbeling and that looks cool as well.
What do you think of this type of manicure? Will you be trying it?

3 comments:
I entered your giveaway (ownedbymyapbt) This water marbeling is the coolest thing ever. I must try it!!!
This looks so cool and easy. I am going to try this out soon.
Thank you, can't wait to try this with my college colors as NCAA Tourney season is nearly here!
Post a Comment